Introduction
The purpose of the Storage Limits screen is to add storage constraints to the optimizer, to ensure that the PLP optimiser will make a plan where stock would never go above a specific storage level, at any time.
Page Access
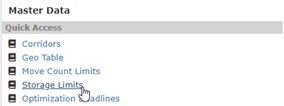
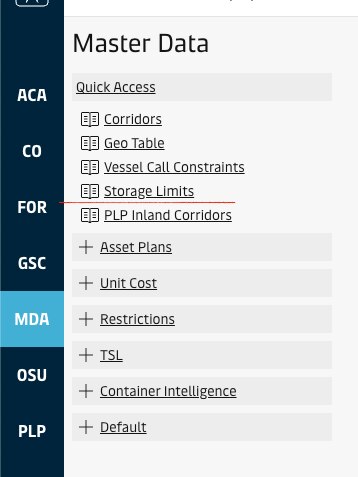
The page is accessible from the sidebar using the "Master Data" entry point. From Master Data landing page, the "Storage Limits" link can be found in the Quick Acces section. For specific permissions in the site, see User Roles & Permissions.

Overview
Search Criteria
To pull a report and provide inputs, the user must specify a set of geos on pool level. In the current implementation of PLP, the inputs are disabled at site-level. Furthermore, all stock is treated the same (i.e. not equipment type specific) and as such, the equipment selection is disabled.

Report Components
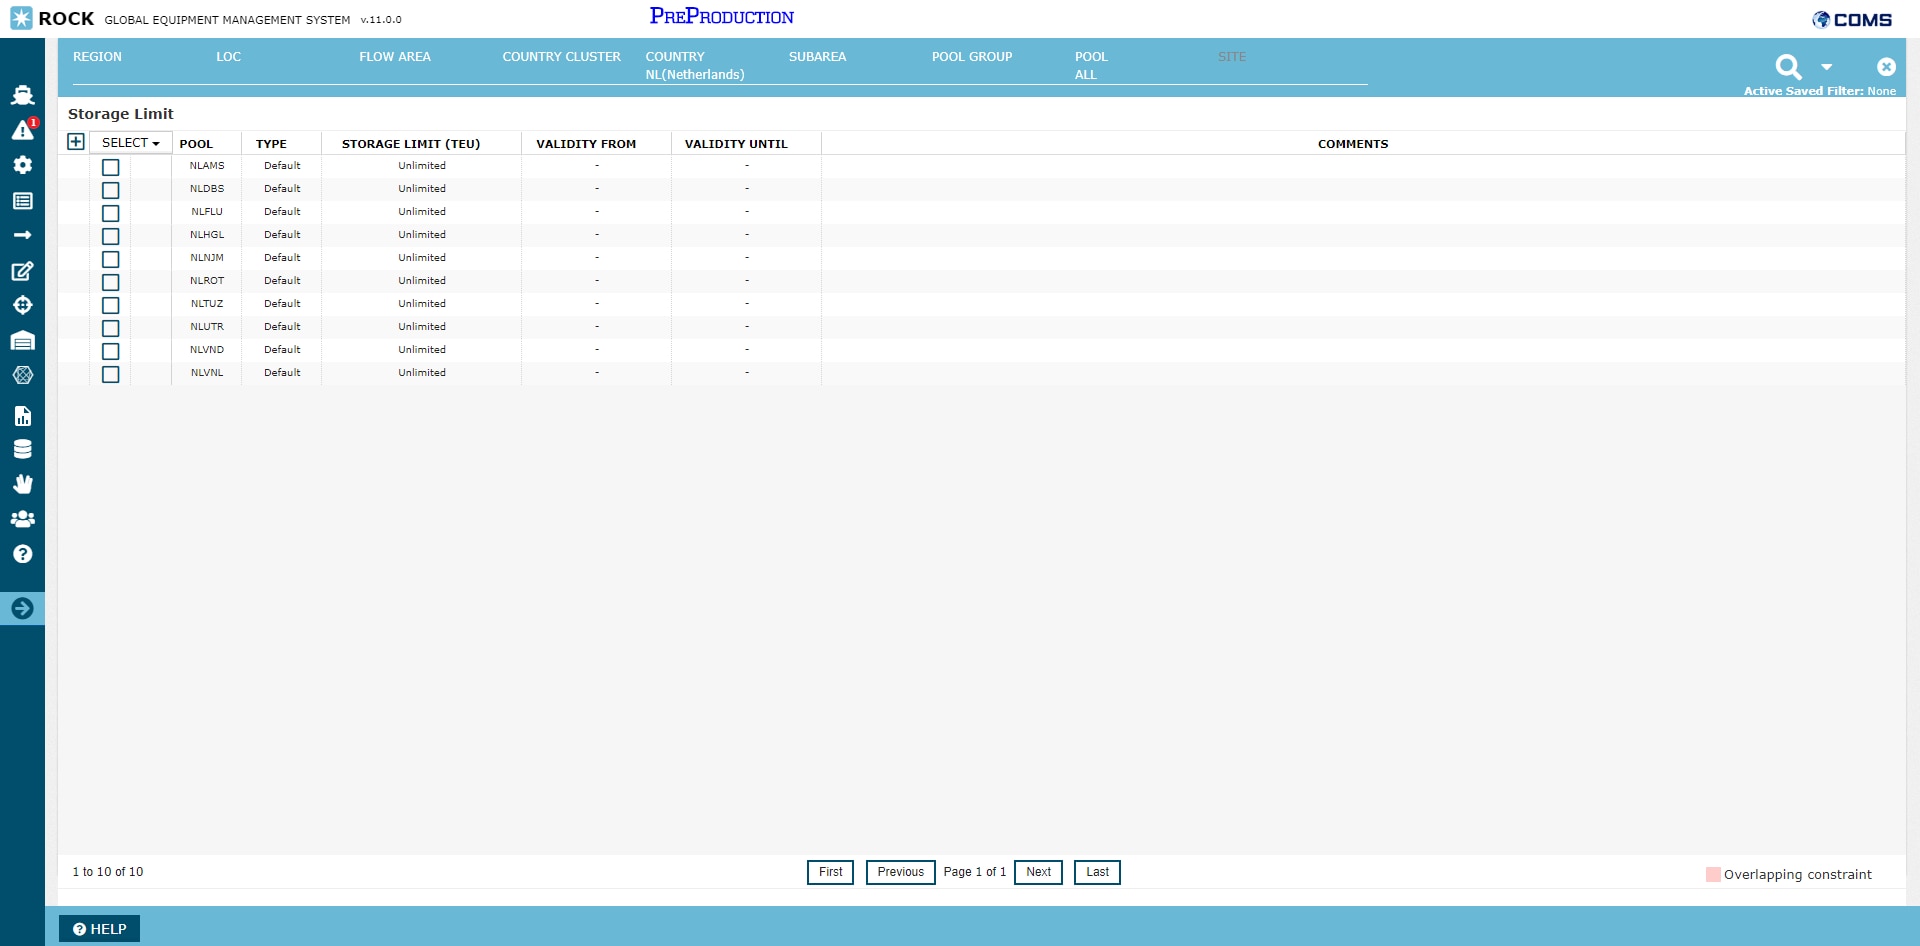
When pulling a report in the screen, the following grid is presented
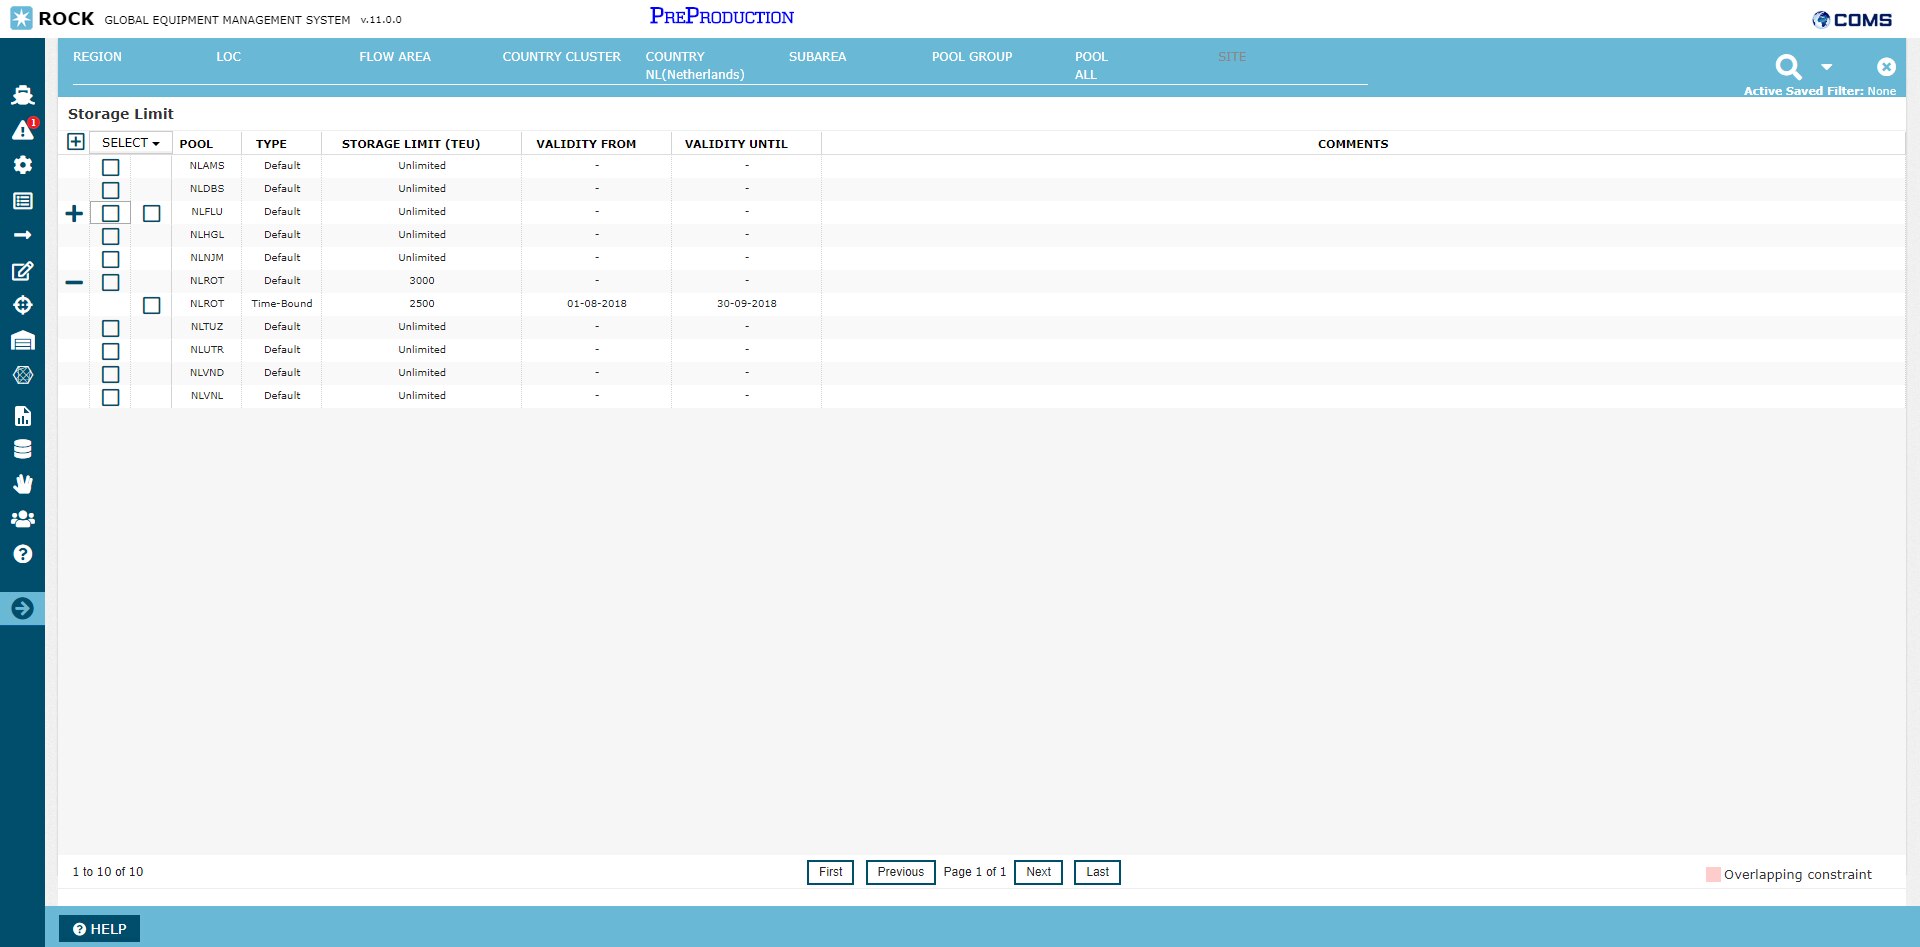
Constraint Types
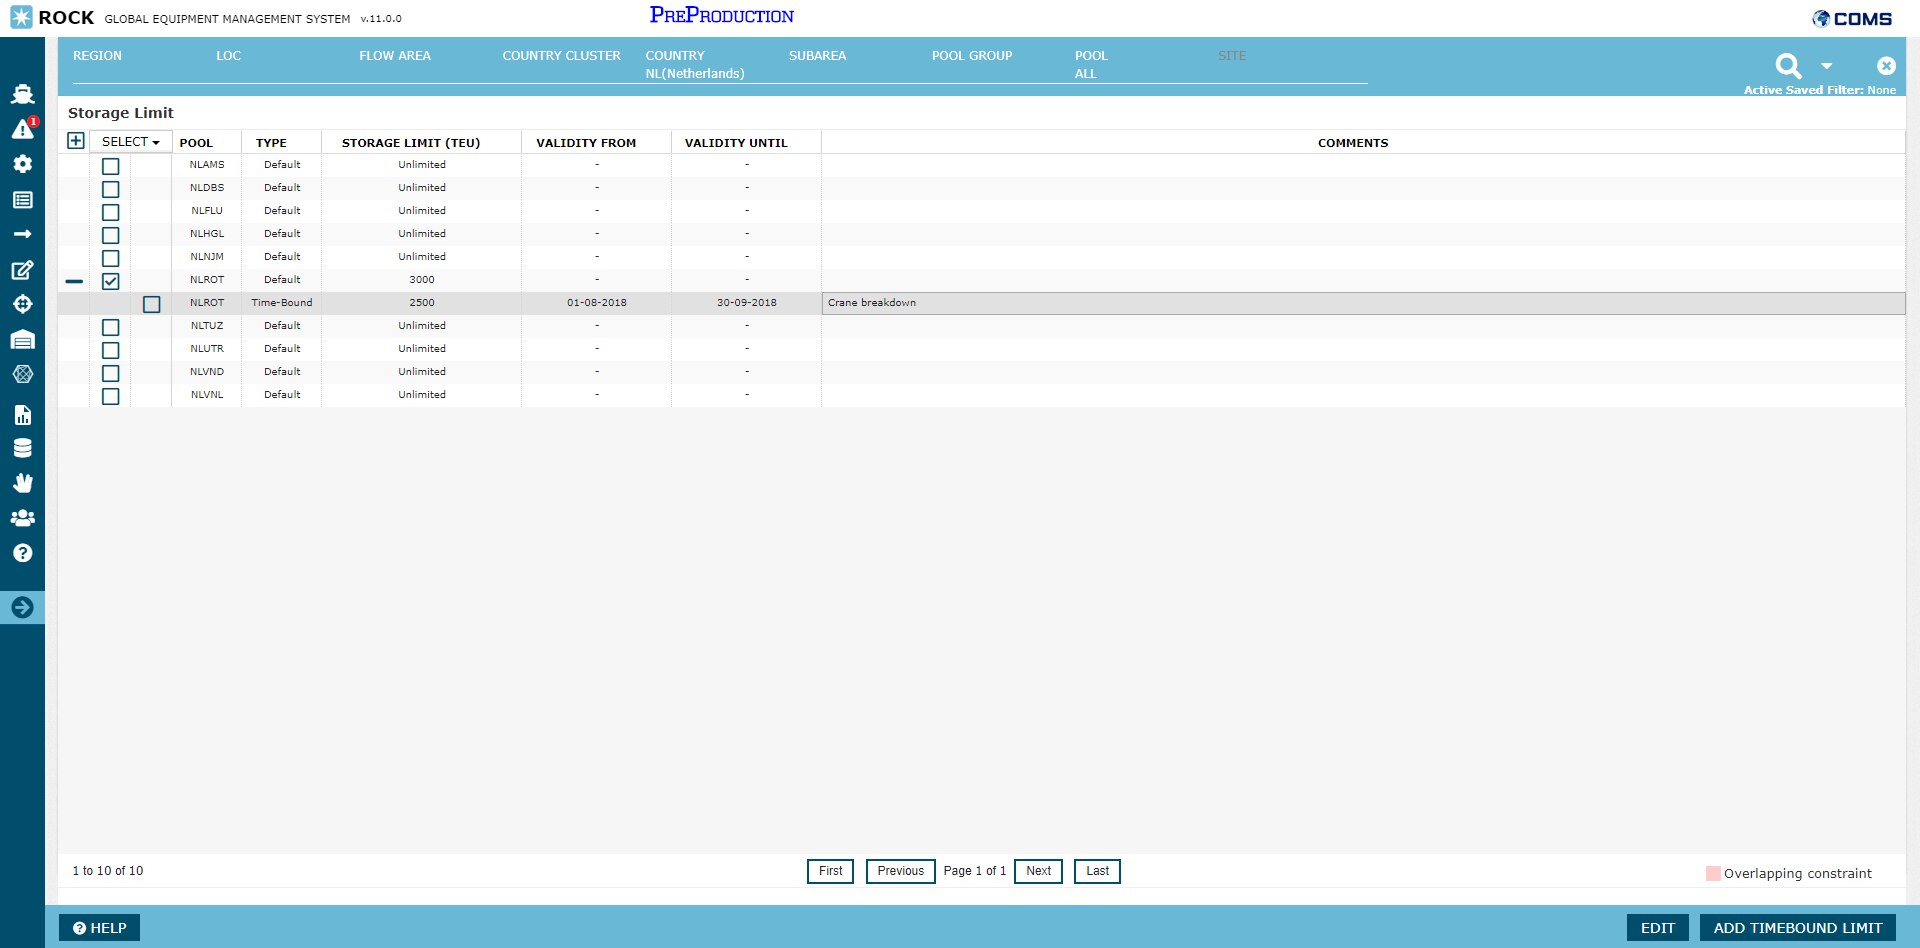
In the layout of the grid, each pool is represented as a row of type "Default". This row represents the default storage limit constraint for the pool that the optimizer will use, unless a valid "time-bound" storage limit constraint is provided. Timebound storage limit constraints can be provided in the screen as a child row to the default constraint. In the above example, the default storage limit constraint for NLROT is 3000 TEU, but a time-bound constraint has been added from 1st of august 2018 to 30th of september 2018. During this period the optimizer will optimize empty flows to respect a storage limit of 2500, instead of 3000.
Each row of type "Default" is the parent row representing the default constraint, with associated child rows of type "Time-Bound", representing constraints that overwrite the default constraint within their validity period.
Practical Use
Row Selection
Rows in the grid can selected through the following features:
Feature | Description | |||||||||
|---|---|---|---|---|---|---|---|---|---|---|
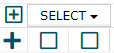
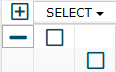
Expanding/Collapsing all rows | In the top left corner is an icon to expand all rows in the grid | |||||||||
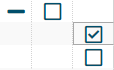
Expand/Collapse individual rows | To each row with associated children, it is possible to expand and collapse the rows. Rows that are collapse can be expanded by clicking the plus icon on the row level. Rows that are
| |||||||||
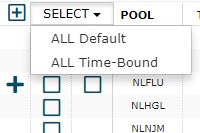
Selecting all rows | Using the "Select" dropdown list in the grid header, user is given option to quick select (1) All storage limit constraints of type "Default", or (2) All storage limit constraints of type "Time-Bound". Row selection is allows users to add to perform actions across multiple constrints at a time (see section "Row Actions").  | |||||||||
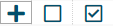
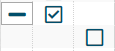
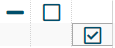
Selecting rows individually | Individual rows can be selected using the checkmarks associated to each row. Each row has two dedicated columns to make a selection; left checkbox is visible for each row of type "Default" and right checkbox is visible for each row of type "Time-Bound" or if all time-bound constraints to a geo is collapsed.
|


Row Actions
Editing a constraint
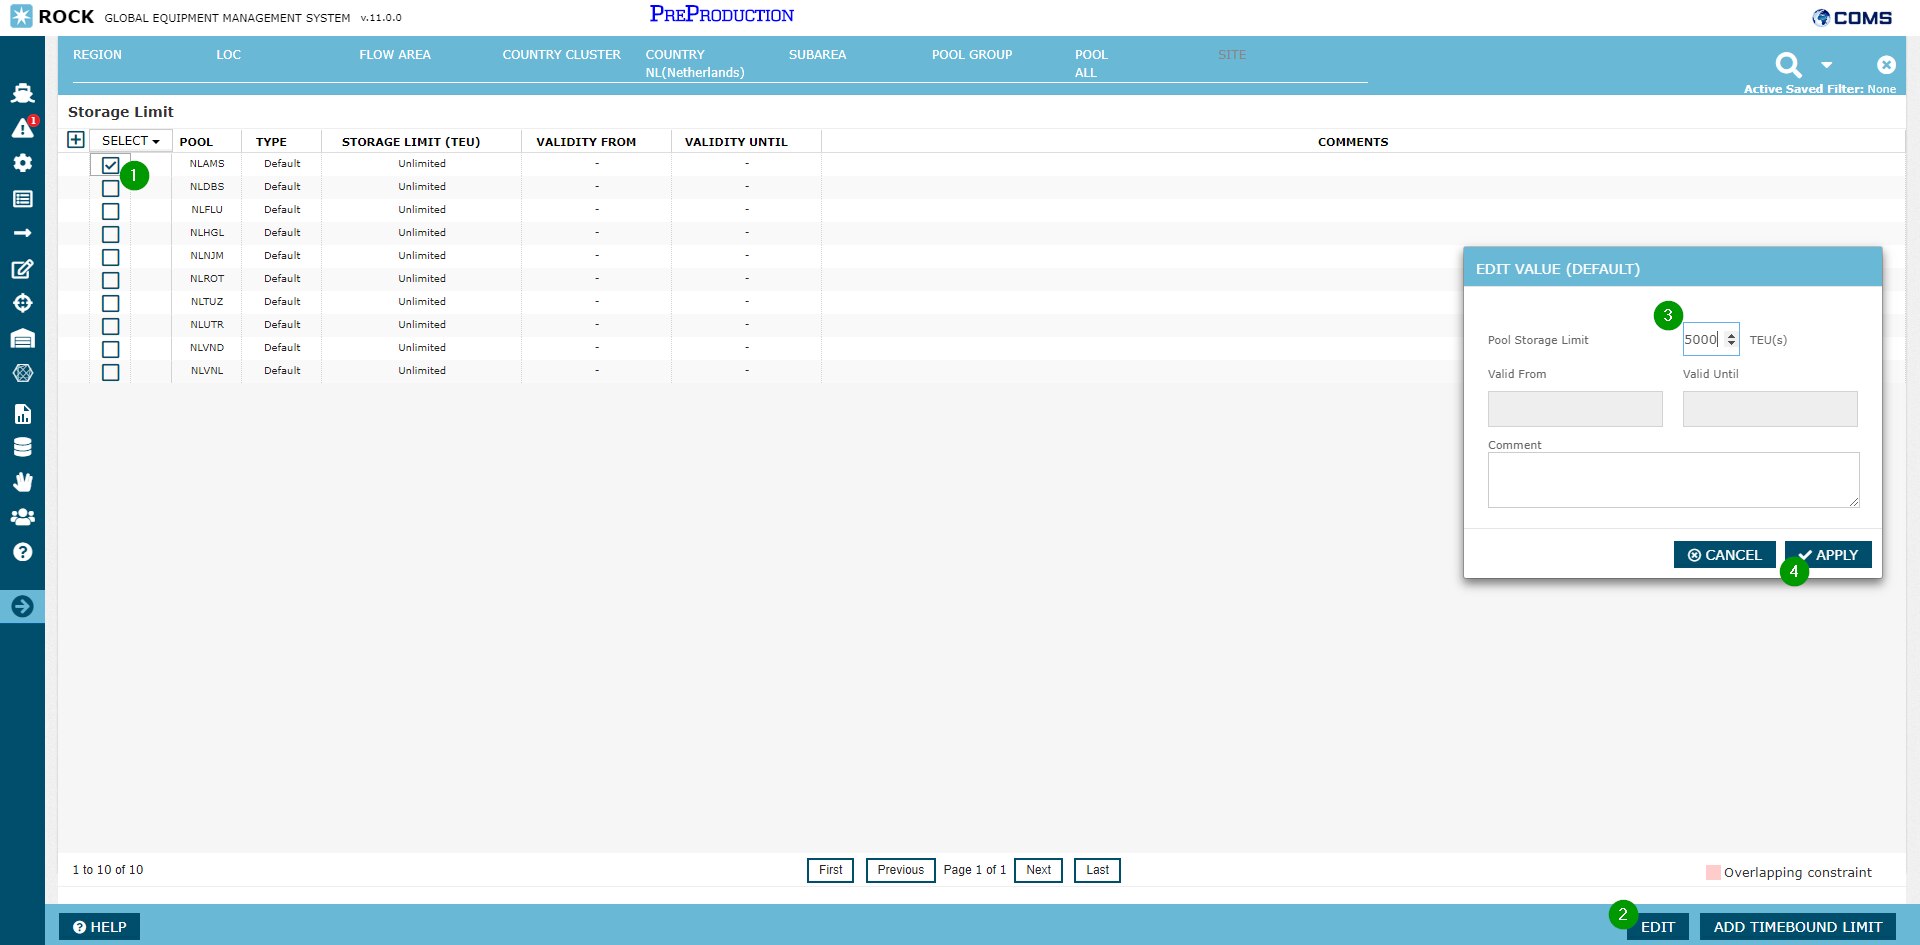
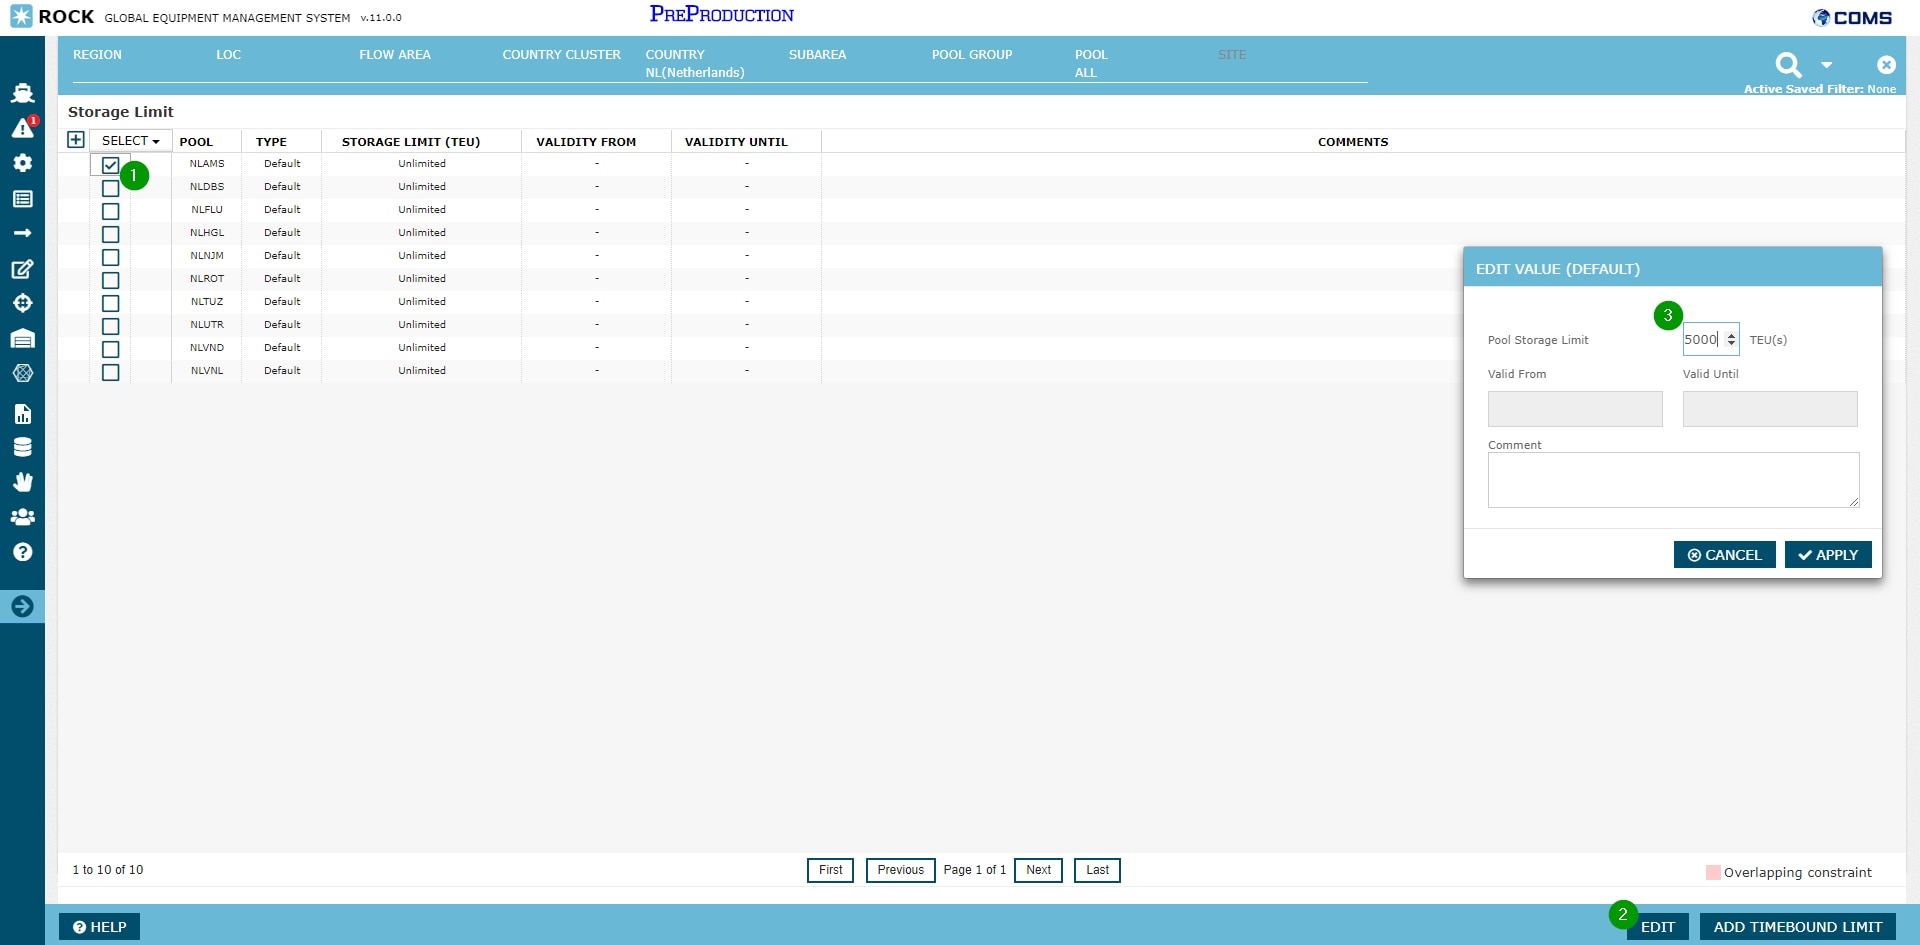
To change the default storage limit value or the storage value to a time-bound storage limit, the user must select the specific constraint by using the checkboxes in the grid.
Step 1: Select the storage limit constraint (either of type "Default" or "Time-Bound").![]() It is also possible to select multiple storage limit constraints of type "Default" to edit each of them to the same default value.
It is also possible to select multiple storage limit constraints of type "Default" to edit each of them to the same default value.
Step 2: Select the "Edit" button in the bottom bar
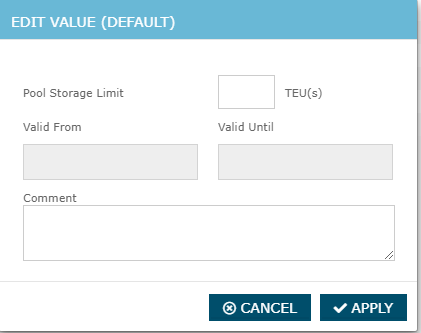
Step 3: From the pop-up window, the Pool Storage Limit can be entered in TEU(s) with an optional comment.![]() If editing a storage limit constraint of type "Default", the Validity From and Validity Until is disabled. These can only be modified for existing constraints of type "Time-Bound".
If editing a storage limit constraint of type "Default", the Validity From and Validity Until is disabled. These can only be modified for existing constraints of type "Time-Bound".
Step 4: After entering a TEU value, clicking "Apply" sets the storage limit constraint, and the result is updated in the grid.
Adding a time-bound constraint
Time-Bound constraints can be added to pools by selecting the "Default" row using the checkboxes in the grid
Step 1: Select a the storage limit constraint of type "Default"![]() It is also possible to select multiple storage limit constraints of type "Default" to apply the same "Time-bound" constraint across multiple pools.
It is also possible to select multiple storage limit constraints of type "Default" to apply the same "Time-bound" constraint across multiple pools.
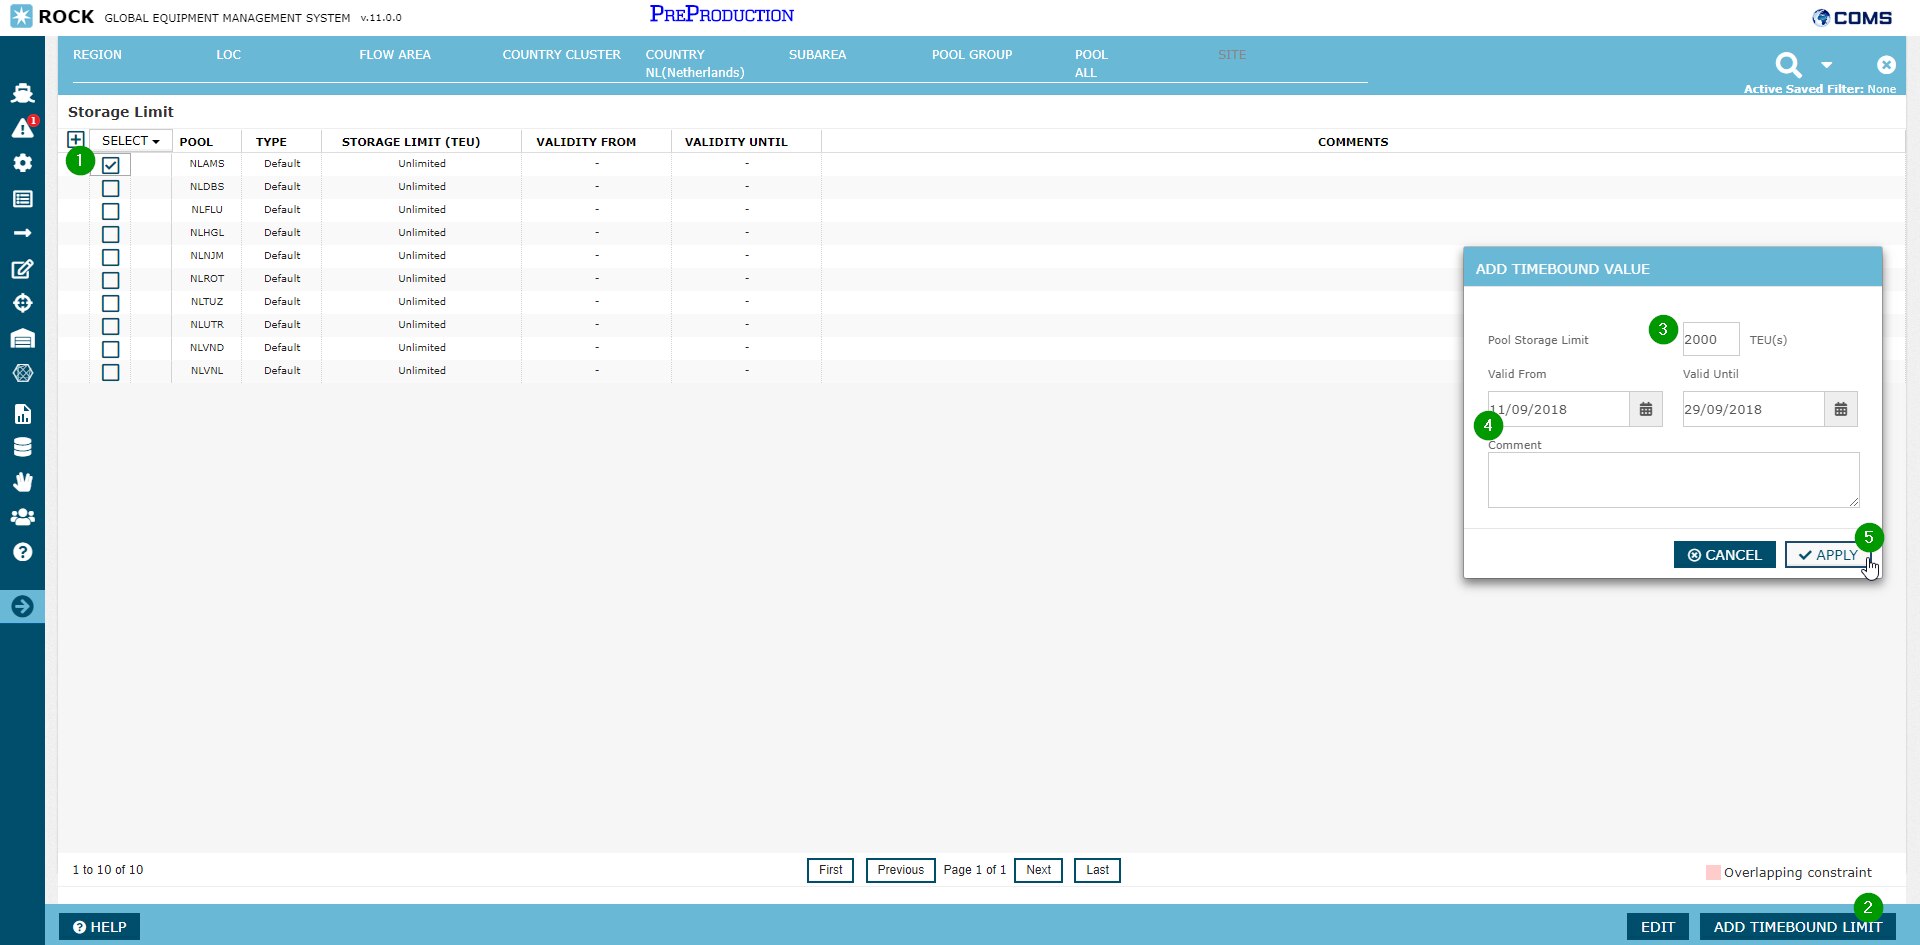
Step 2: Select the "Add Timebound Limit" button in the bottom bar.
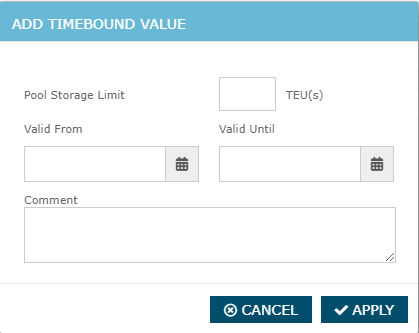
Step 3: From the pop-up window, the Pool Storage Limit should be specified in TEU(s),
Step 4: From the pop-up window, the related validity period for the Time-Bound value should be specified. Adding a comment is optional.
Step 5: Clicking "Apply" sets the storage limit constraint, and the result is added to the grid.

Overlapping Time-bound constraints
Given multiple storage limit constraint of type "Time-Bound" have been added to the same geo that overlap with each other, then the grid will highlight the rows in the grid with RED color as shown below. This indicates that a discrepency in the data that needs to be fixed. If overlapping constraints are sent to DDFO, the storage limit that was created last is used for the specific day (i.e. the latest provided input).

Deleting a time-bound constraint
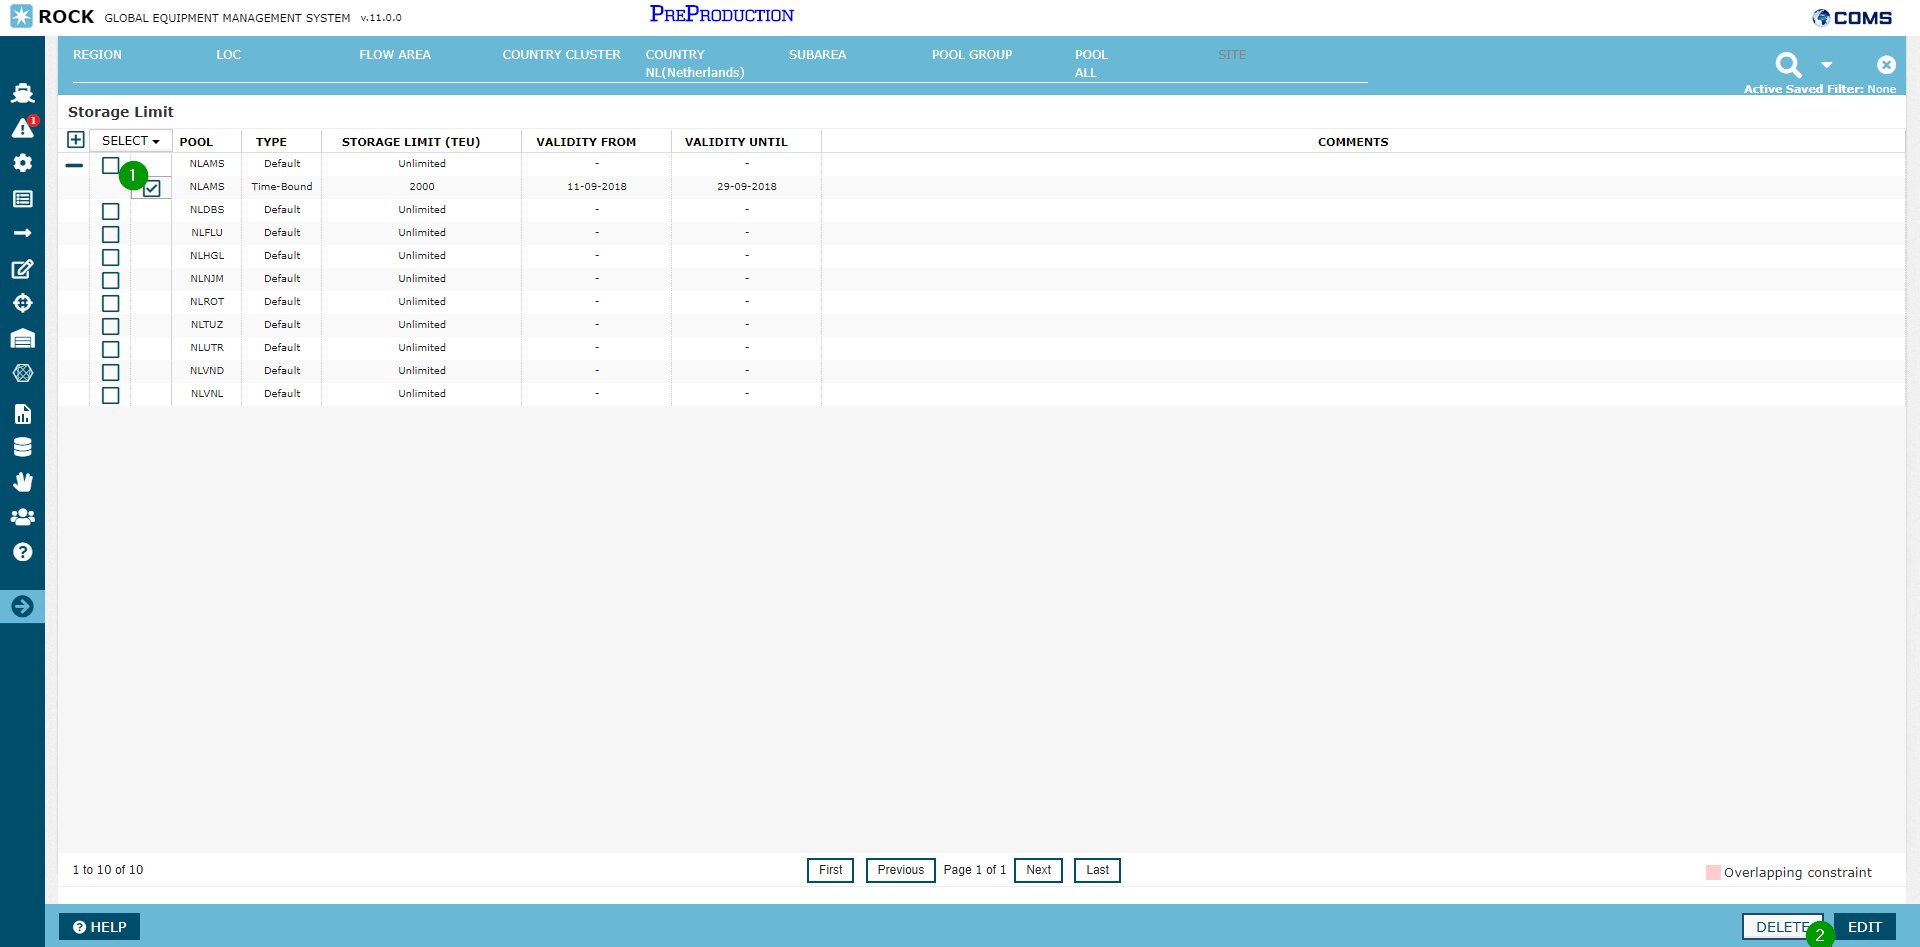
Time-Bound constraints can be deleted for the "Default" row using the checkboxes in the grid.
Step 1: Select a storage limit constraint of type "Time-Bound"![]() It is also possible to select multiple storage limit constraints of type "Time-Bound" to delete each of the constraints at the same time.
It is also possible to select multiple storage limit constraints of type "Time-Bound" to delete each of the constraints at the same time.
Step 2: Select the "Delete" button in the bottom bar.
After confirming the action to delete, the grid is updated to reflect all selected storage limit time-bound constraints deleted.