Introduction
The PLP Inland Corridor screen is a repository of pool-level inland corridors, that are based on historical RKEM moves where either source or destination of the move is inland. The logic to generate and manage pool-level corridors also includes average figures for capacity, frequency, transit-times, and transit cost. The purpose of the screen is to manage these corridors and thus drive how PLP optimiser suggests inland flows in the plan. This includes:
Controlling Pool level inland empty TEU capacity for overall Inland movement.
Controliing frequency of the Inland departures for a pool corridor.
Controlling pre-calculated Transit time for a corridor.
Controlling pre-calculated Transit cost based on container size.
Setting up Optimization deadlines (Cut-off deadlines) for a Pool corridor.
Controlling Pool corridor if Block train contract is committed.
The other screen in ROCK to manage corridors "Corridors" is used to manage corridors, to which OTT can manually be planned. The "PLP Inland Corridors" screen is dedicated to PLP and requires obligatory data to be used for the purpose of optimisation.
Page Access
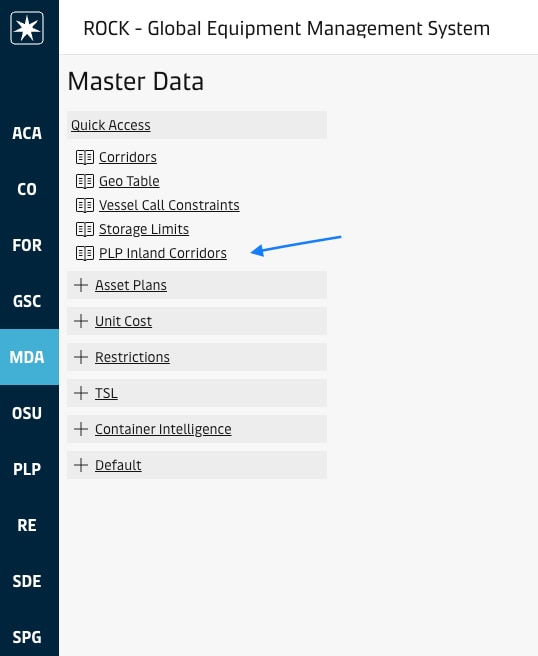
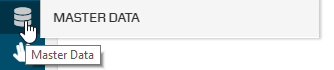
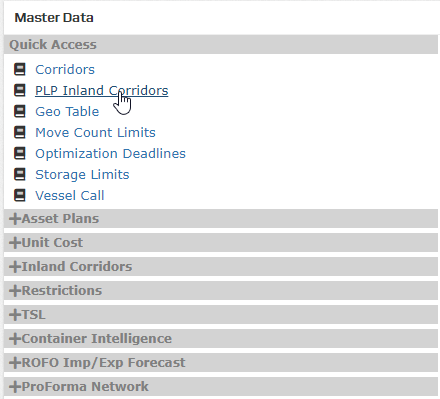
The page is accessible from the sidebar using the "Master Data" entry point. From Master Data landing page, the "PLP Inland Corridors" link can be found in the Quick Acces section. For specific permissions in the site, see Access and Permissions.
Overview
Report Components
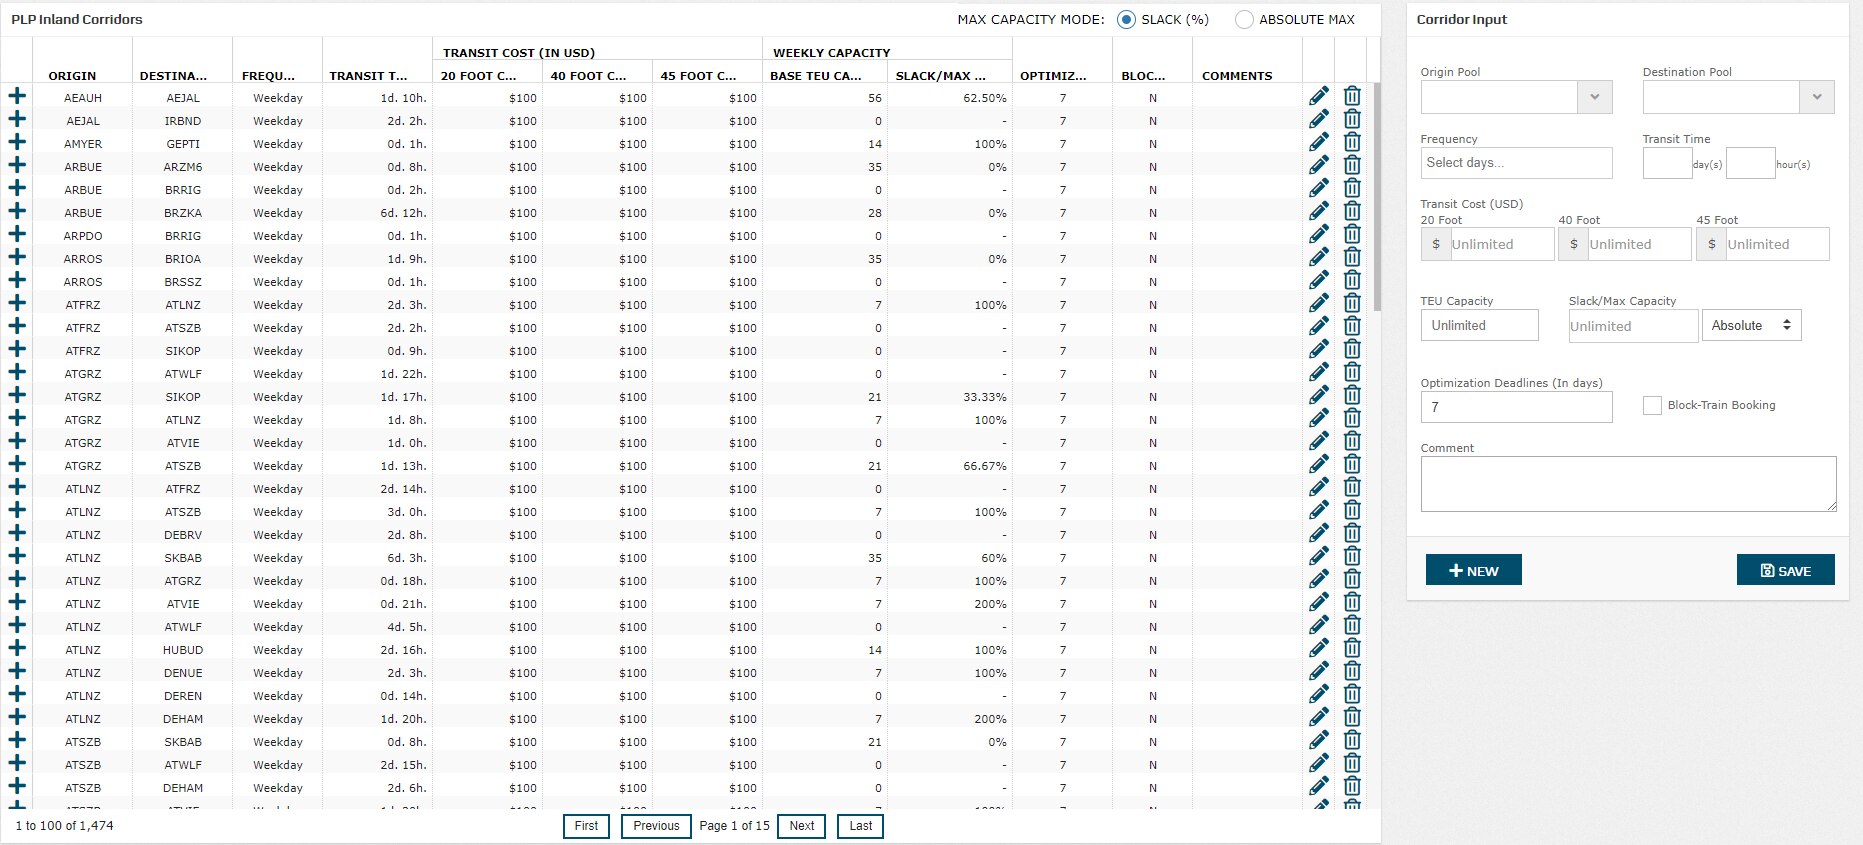
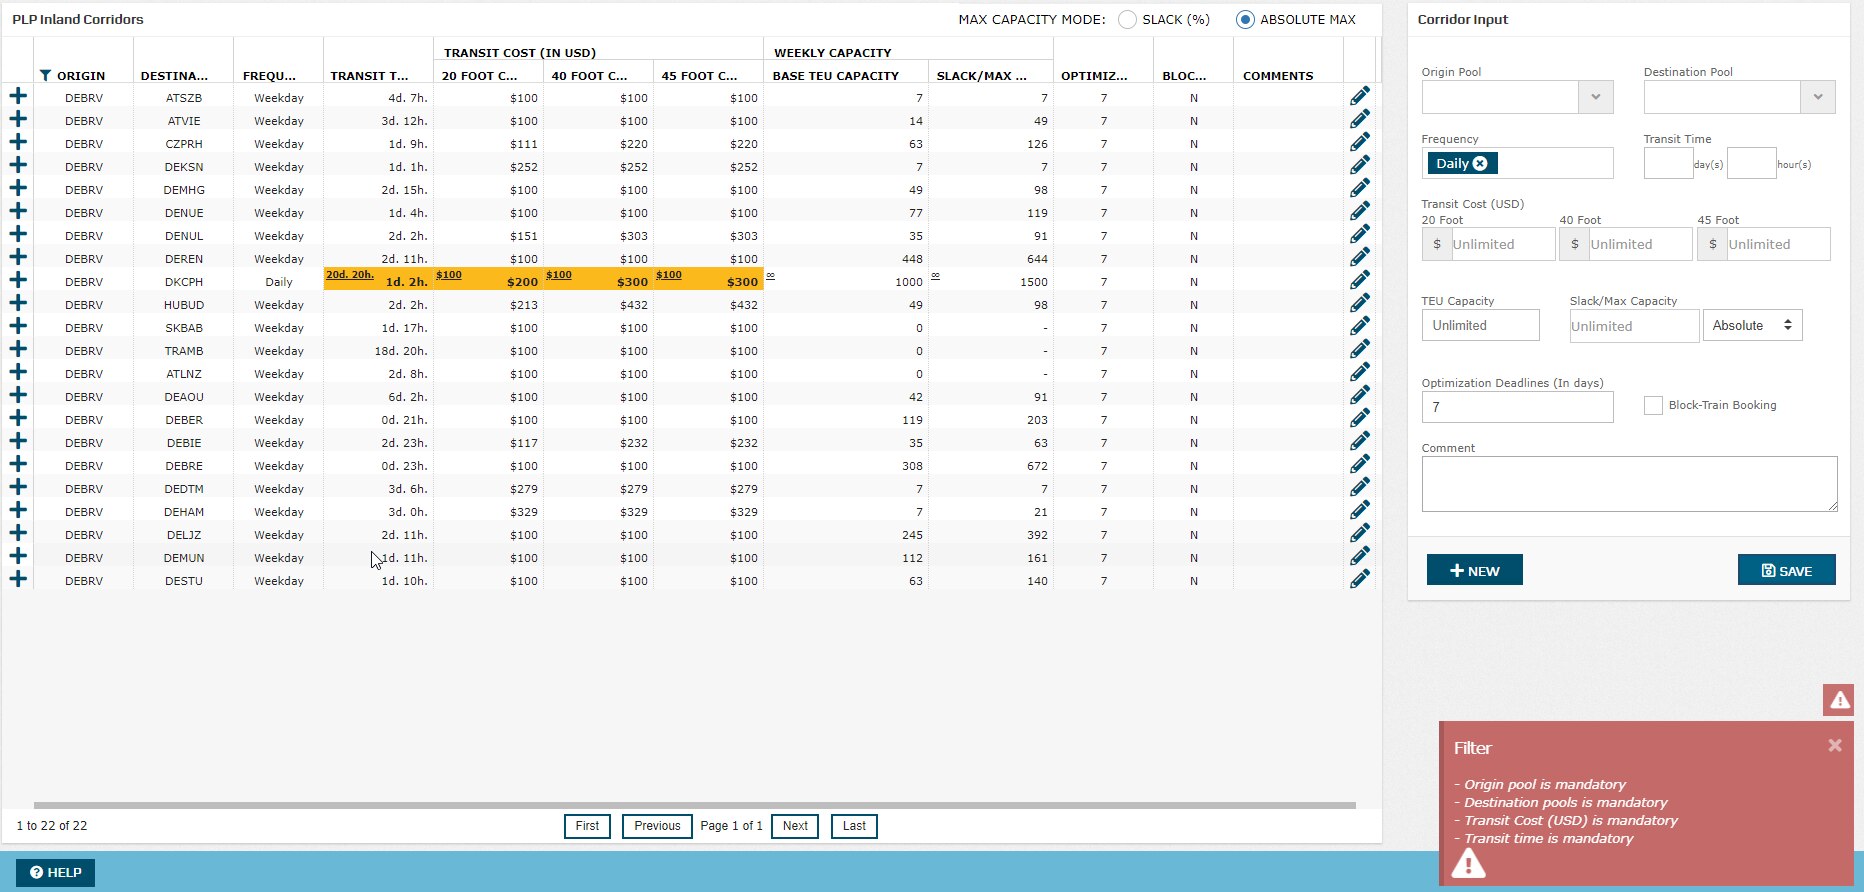
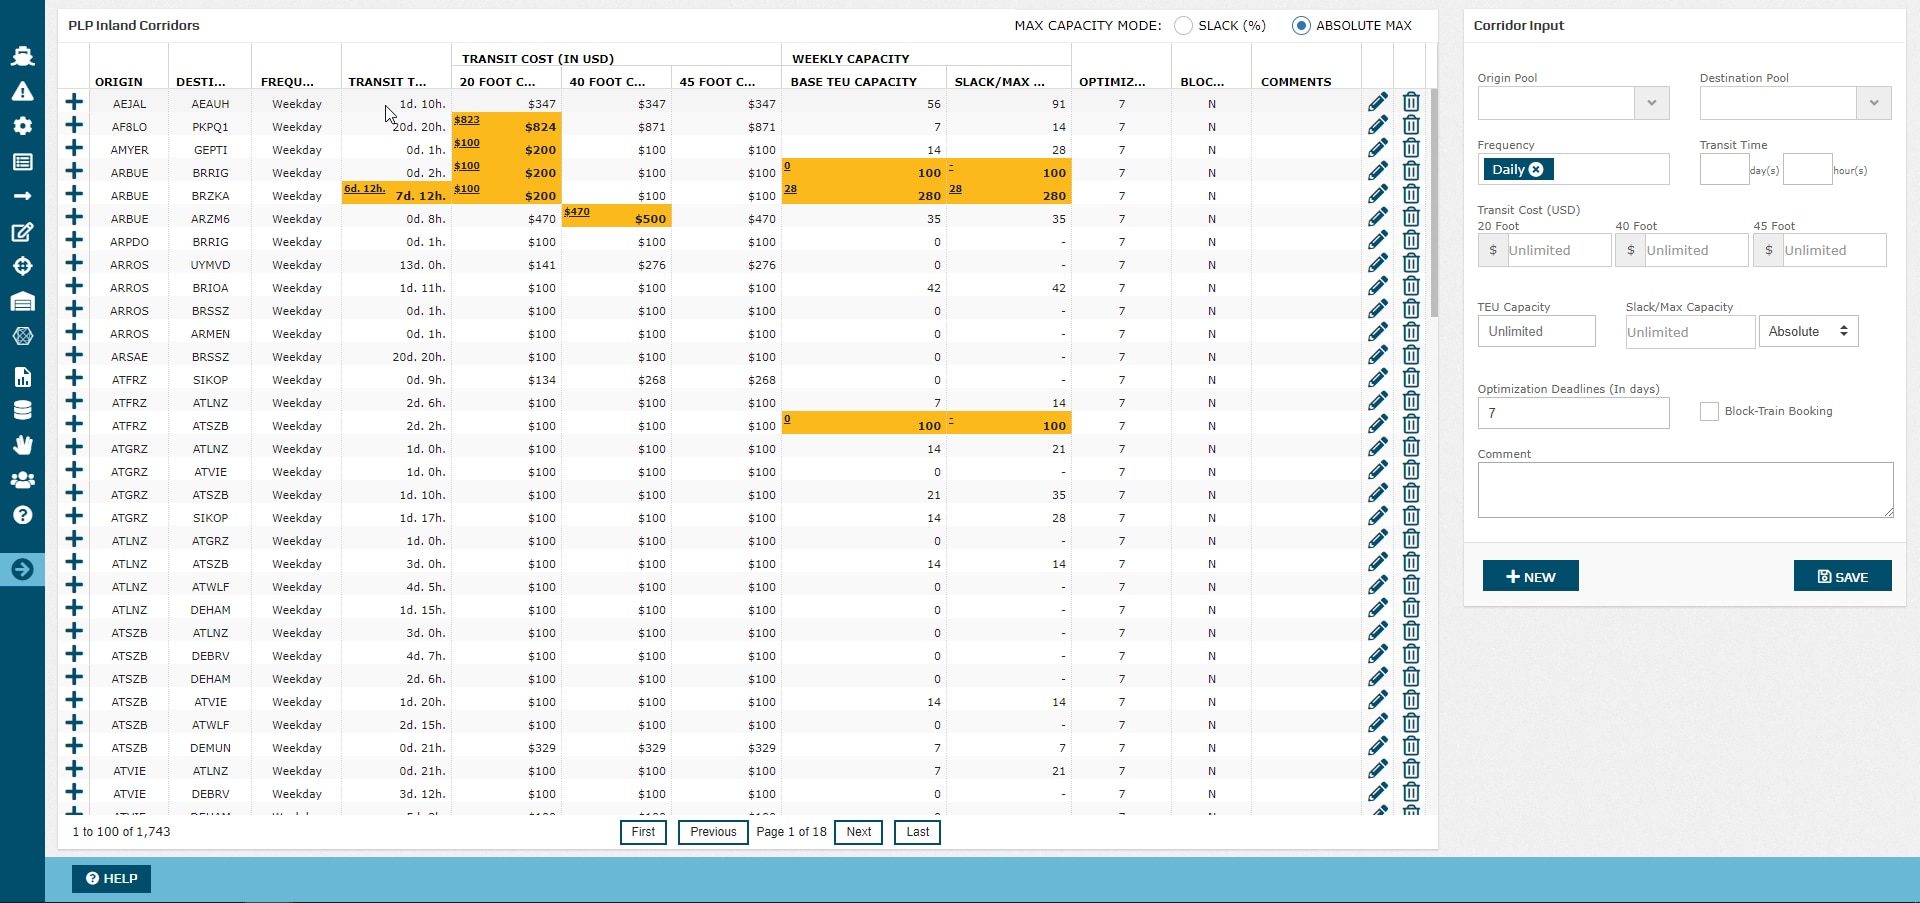
When opening the screen, the below page components are loaded. This screen consists of a left-side grid "Corridors List", with a right-side panel to manage the list "Corridor Input".
Corridors List
The system features a grid displaying the list of corridors available in the system. The corridor list is populated with pool-level corridors, by aggregating historical site-level moves and associated data. The data source for the data is the finance system FBR.
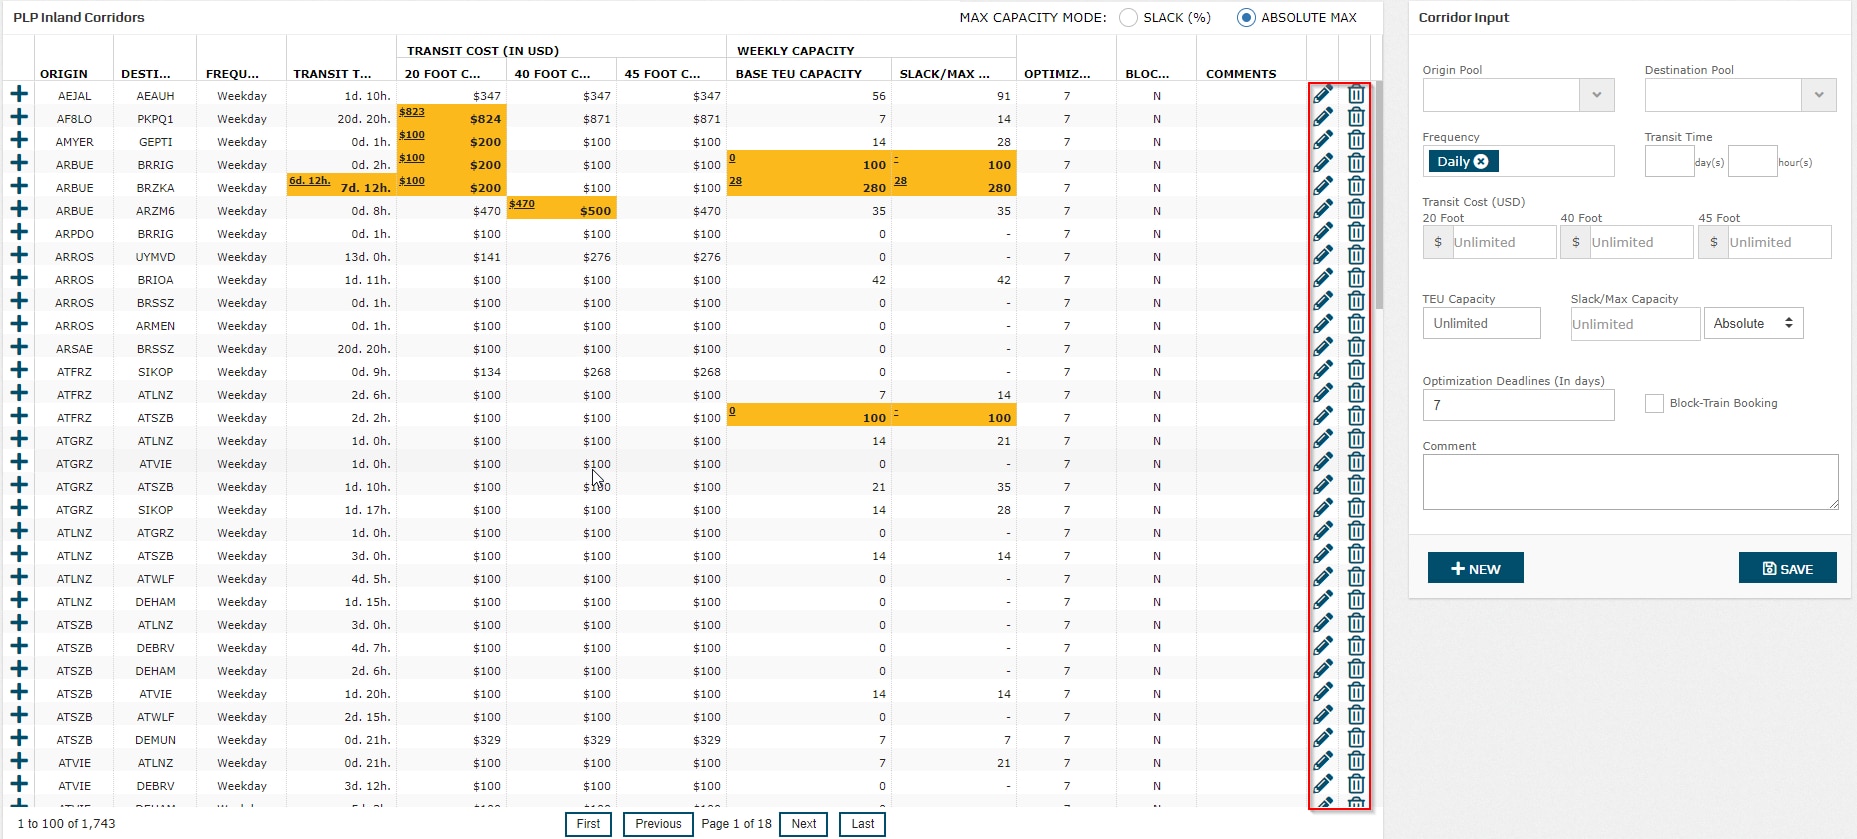
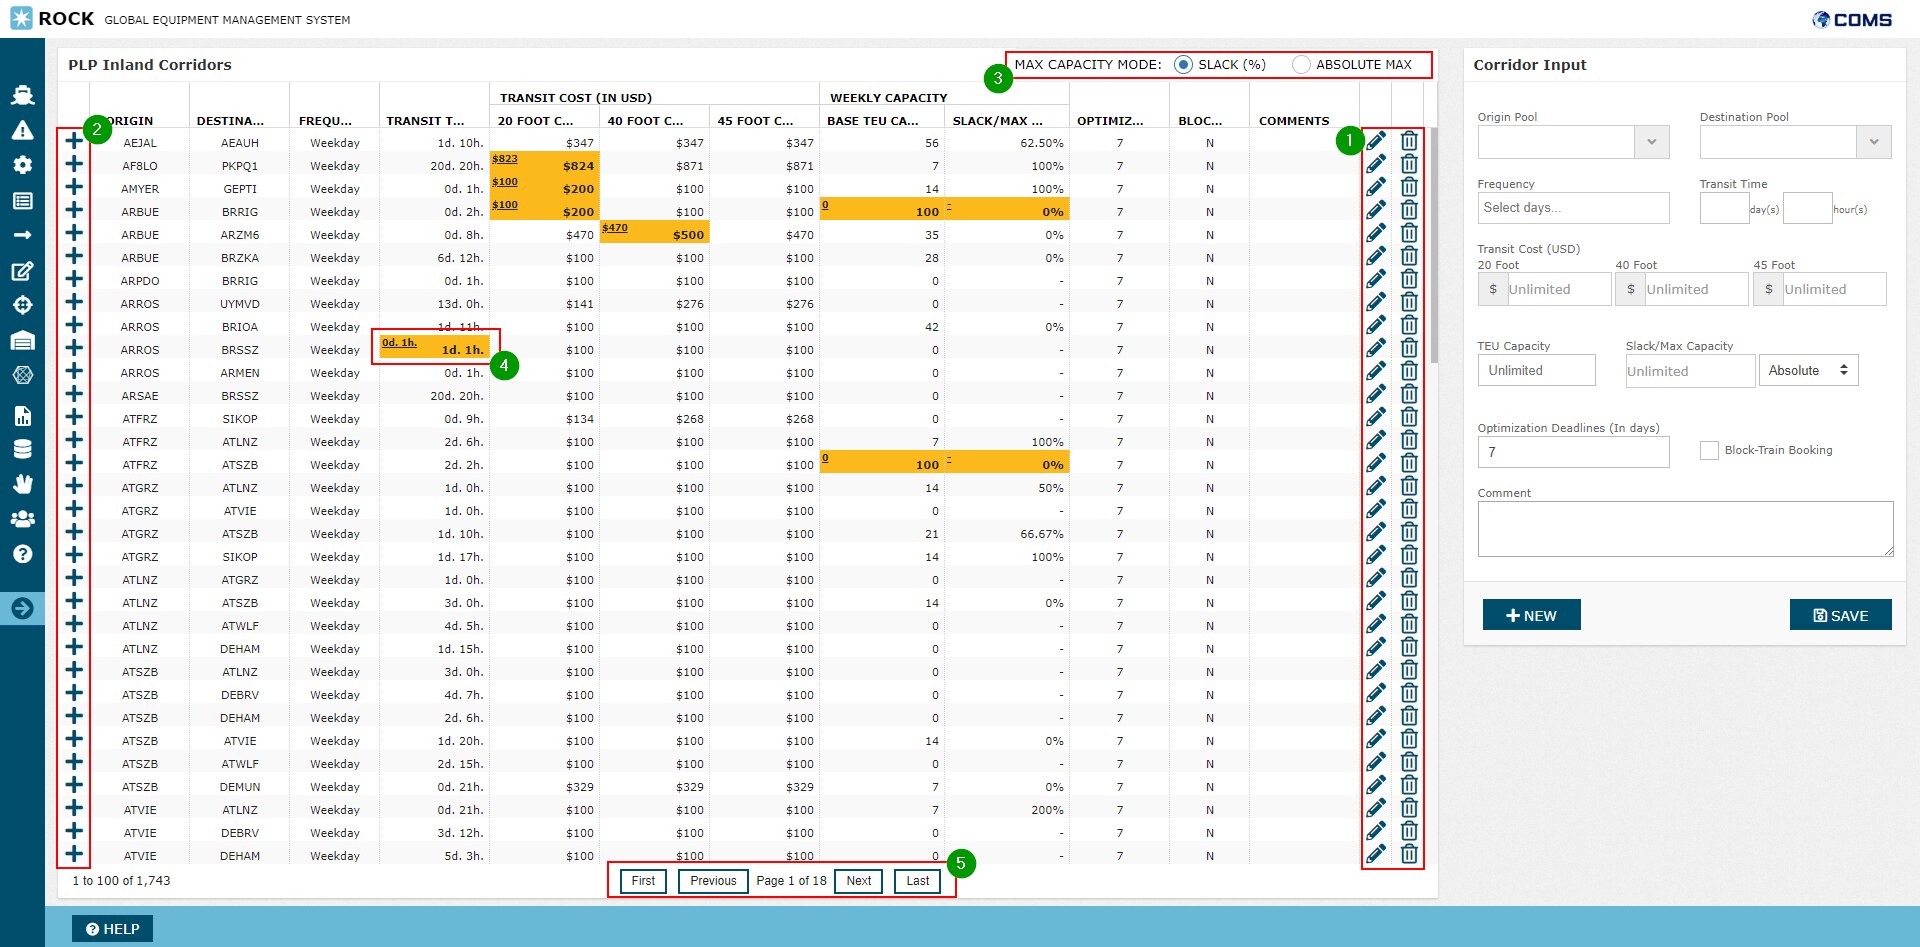
The important features included in the grid are:
The highlighted features from the above screenshot are described in the following table.
Feature | Description | |
|---|---|---|
| 1 | Action Buttons | Using the action buttons associated the each row, users can
The actions are described in more detials in section "Actions" |
| 2 | Analyse Corridor Baseline | By expanding individual corridors, it is possible to analyse the underlying data on site-site level from RKEM Inland moves, which is used to capture the pool-level averages. This is further described in section "Analyse Corridor Baseline". |
| 3 | Setting Corridor Flexibility View | The capacity flexibility on each of the corridors is specified in the column "Slack / Max TEU Capacity". The flexibility on a corridor means that the PLP optimiser can suggest flows that exceeds the indicated capacity of the corridor, but not greater than the allowed flexibility. However, exceeds the indicated capacity of the corridor will introduce a penalty in the model, to balance the behavior and only exceed when other options are exhausted. The flexibility can be viewed in the grid from two perspectives, using the radio buttons in the top of the grid.
 |
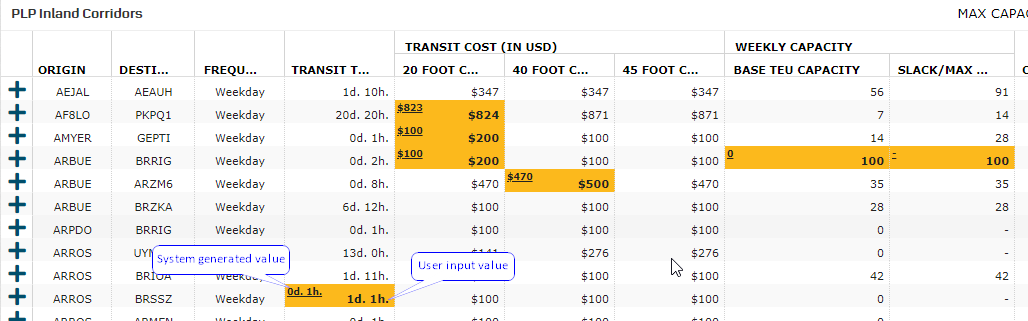
| 4 | Modifying Cells | When the user modifies any input for a corridor, the screen will highlight the cell where change was done. The highlighted cell will also show 'system generated value' in a smaller font at the top-left of teh cell and user input value in larger font at the right of the cell:  |
| 5 | Pagination | The grid features pagination controls, where the system displays 100 corridor records per page at a time: |
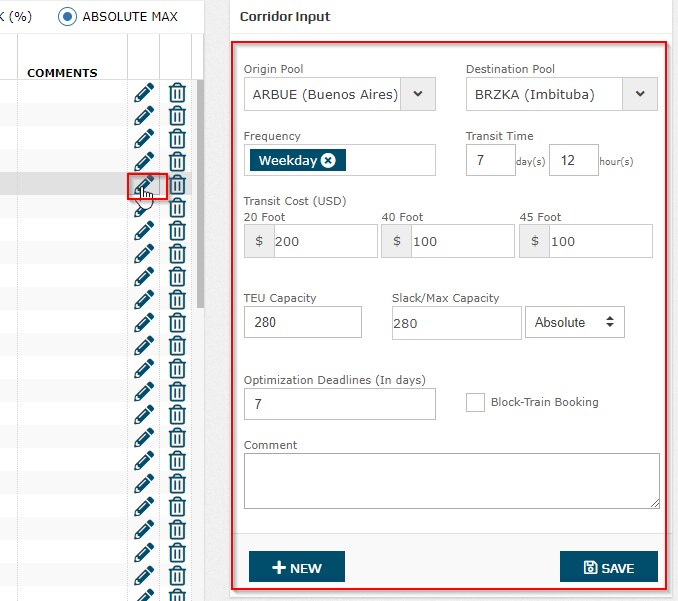
Corridor Input
Input field | Description | ||||
|---|---|---|---|---|---|
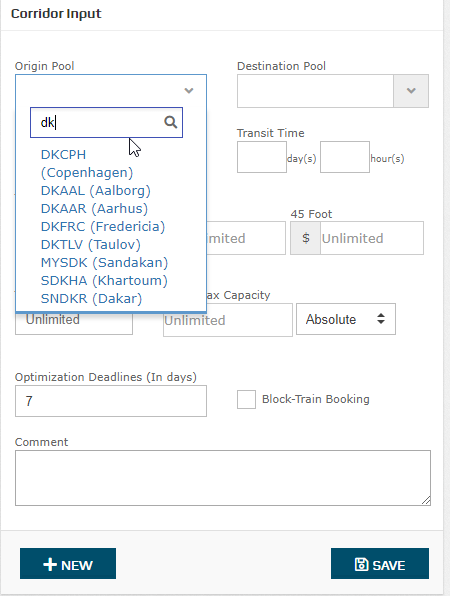
Origin Pool | This input field specifies the origin pool of the corridor. The user can specify the origin pool by typing in the beginning of the pool code.  | ||||
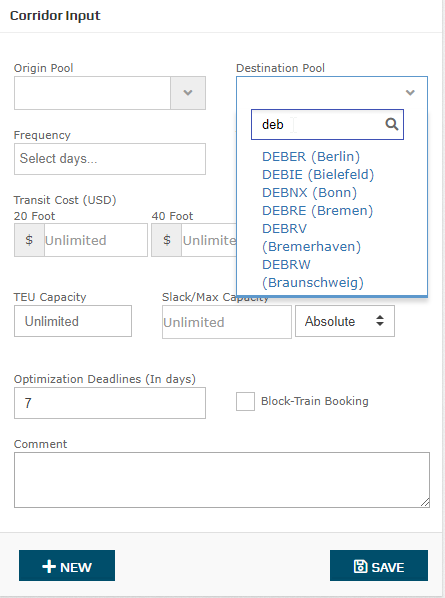
Destination Pool | This input field specifies the destination pool of the corridor and is used similarly as input field "Origin Pool". | ||||
Frequency | This input field specifies the days of the week, where the corridor operates. Input options include:
| ||||
Transit Time | This input field specifies the average time it takes to move empty containers on the corridor, from origin pool to destination pool. Any empty flow planned on this corridor will assume this specific transit time. Input options include:
| ||||
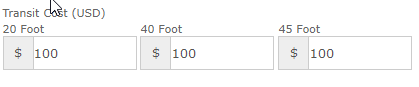
Transit Cost | This input field specifies the average transportation cost introduced to the company moving empty containers on the corridor, from origin pool to destination pool. Inputs are captured in USD for per equipment size category, i.e. "20 Foot" ,"40 Foot" and "45 Foot".  | ||||
TEU Capacity | This input field specifies the default weekly capacity per week, that optimiser can move on the corridor from origin pool to destination pool. Inputs are captured in TEU starting from 0 TEU. If the value '0 TEU' is specified, then PLP can not suggest any empty flows on the corridor. | ||||
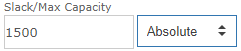
Slack/Max Capacity | This input field can be used to specify the maximum capacity of the corridor, including any flexibility. Input options to specify flexibility includes:
| ||||
Optimization Deadlines | This input field specifies the cut-off deadlines in days. When planned flows on the corridor reaches this deadline, PLP will no longer optimise and suggest flows on the corridor. Instead, the planned flow is taken as a fixed input. | ||||
Block Train Booking(checkbox) | This input field can be used for corridors with sunk cost. This is especially relevant for corridors using a block train where capacity is already booked and prepaid. The PLP optimiser will take this cost-perspective into consideration when making a plan. Checking the checkbox means indicates that corridor is a block train booking. |


Input Validation
When creating new corridors or modifying existing ones, the same input validation criteria are applied.
Origin and Destination Pool must be selected
Origin and Destination Pool must exist in the database
Corridor Frequency must be specified
The Corridor Transit Time must be specified, and be greater than 0.
The Corridor Transit Cost must be specified in atleast one field.
The Optimization Deadline must be specified, and be greater than 0.
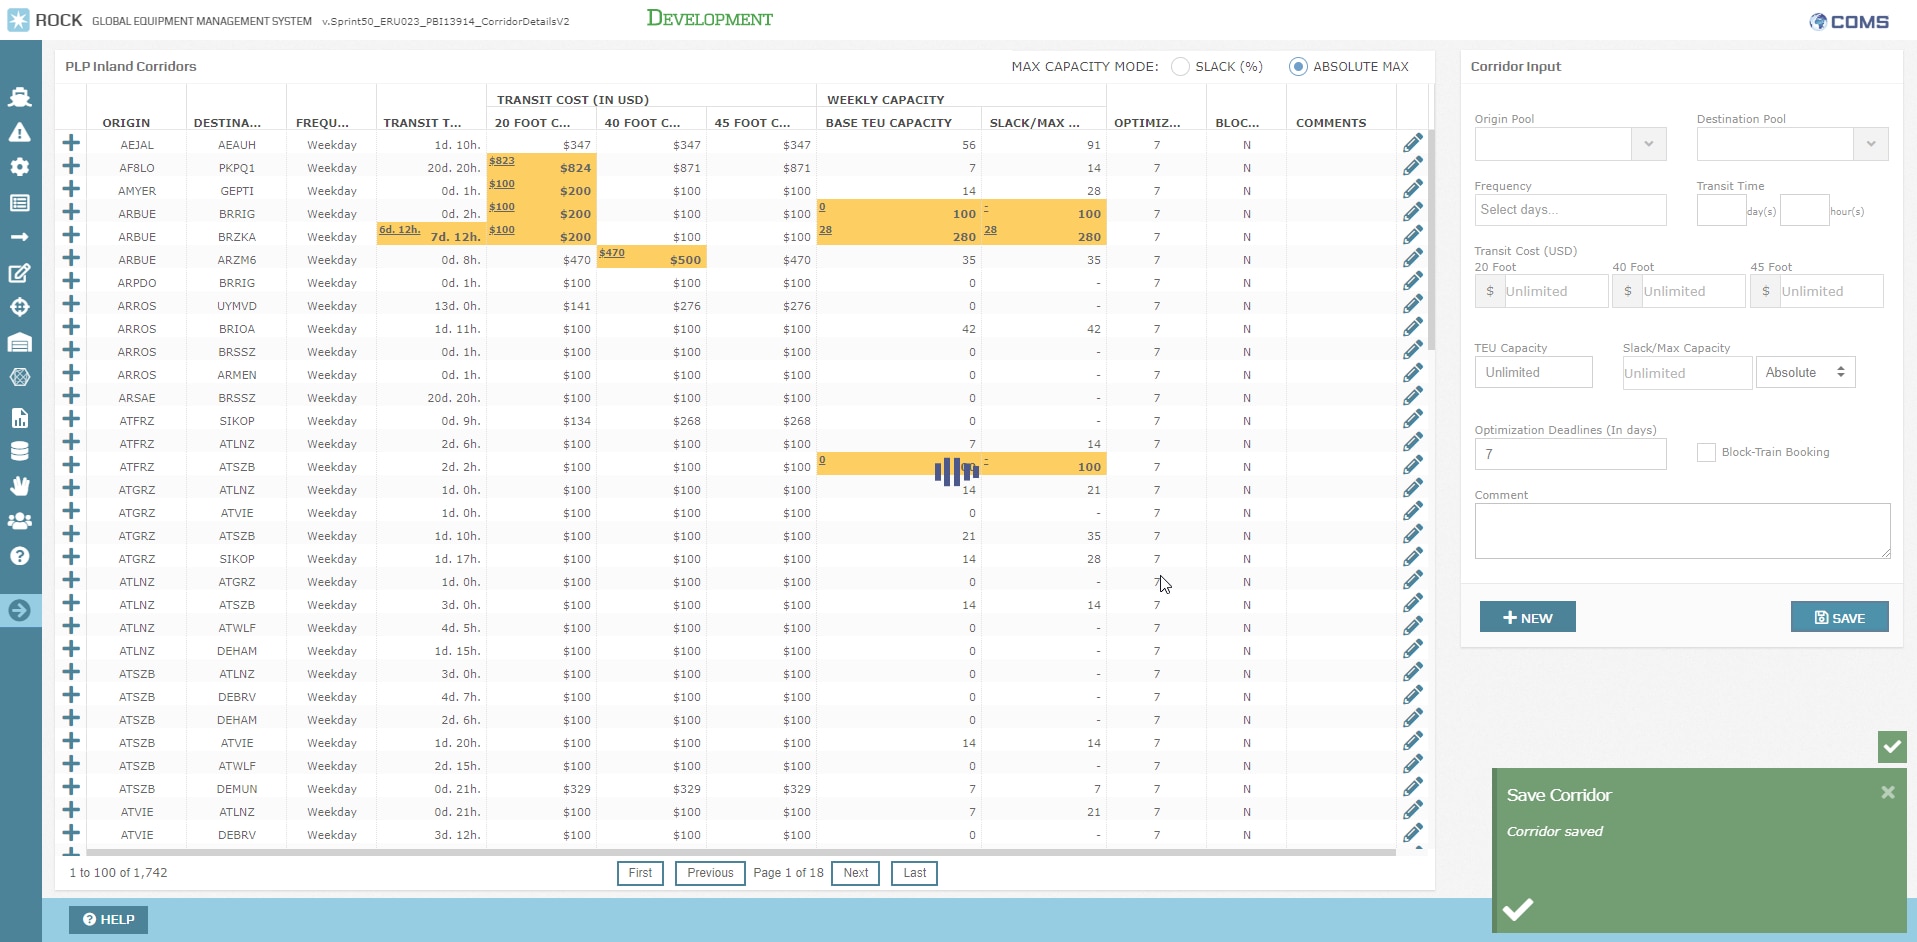
If the validations succeed, the system saves the new corridor and displays a confirmation message:
Succesful Message | Rejection Message |
|---|---|
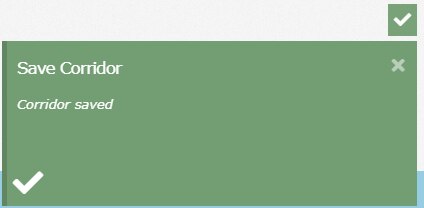 | 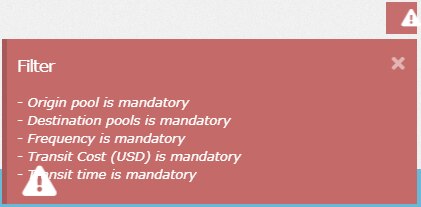 |
Analyse Corridor Baseline
PLP Inland corridor screen shows site level corridors information that are used to aggregate into pool corridor. Site level corridor information for a pool corridor can be seen by clicking '+' icon for a pool corridor row at left of the screen
Site level corridors information are shown only for reference and are non-editable.
Step 1 |  |
Step 2 |  |
Practical Use
Adding a New Corridor
To add a new corridor, the user must follow the below steps
Click "NEW" icon to reset to Corridor Input Form to being providing inputs.
Fill out the corridor input form in the right section of the grid.
Click "SAVE" icon to create the Corridor and populate the grid.
When the user completes filling out the form and clicks 'SAVE' button, the system validates the inputs against the input criteria and rejects/accepts based on the result. If the validations succeed, the grid is updated with the new Corridor.
Modifying an Existing Corridors
To modify an existing corridor, the user must follow the below steps.
Click the Pencil icon on the COrridors grid for a corridor row
Modify the corridor input form in the right section of the grid.
Click "SAVE" icon to create the Corridor and populate the grid.
When the user completes filling out the form and clicks 'SAVE' button, the system validates the inputs against the input criteria and rejects/accepts based on the result. If the validations succeed, the grid is updated with the changes.
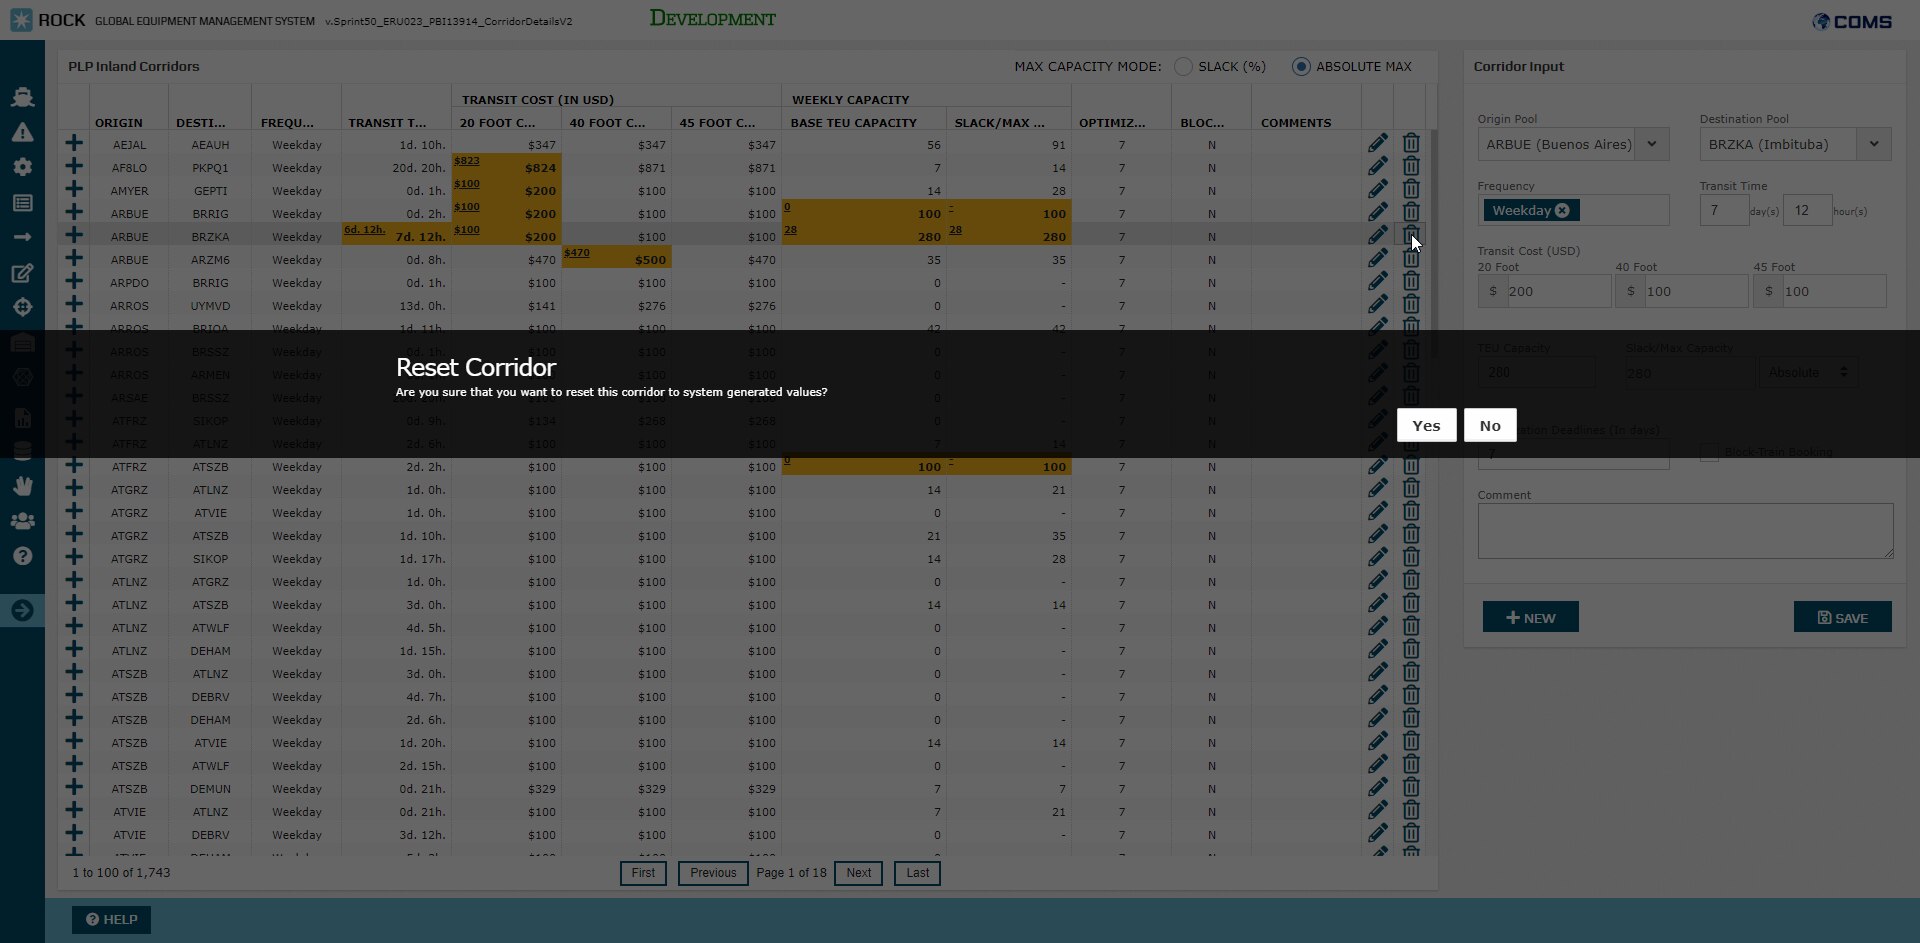
Reset Corridors
To reset a corridor in the library, the user must follow the below steps.
Click the "Trash Bin" icon associated to the specific corridor row.
User must confirm decision to delete the corridor (prompt)
If the user clicks Accept button, the system resets the corridor record. If the user clicks Cancel, the system hides the pop up window and returns the control to the user. When a corridor is resetted, it will remove all user input changes from the screen and show only the system generated values for a corridor.
![]() If a user tries to reset a pool-level corridor that was created by user, without any baseline data, then the corridor is removed from the grid.
If a user tries to reset a pool-level corridor that was created by user, without any baseline data, then the corridor is removed from the grid.